
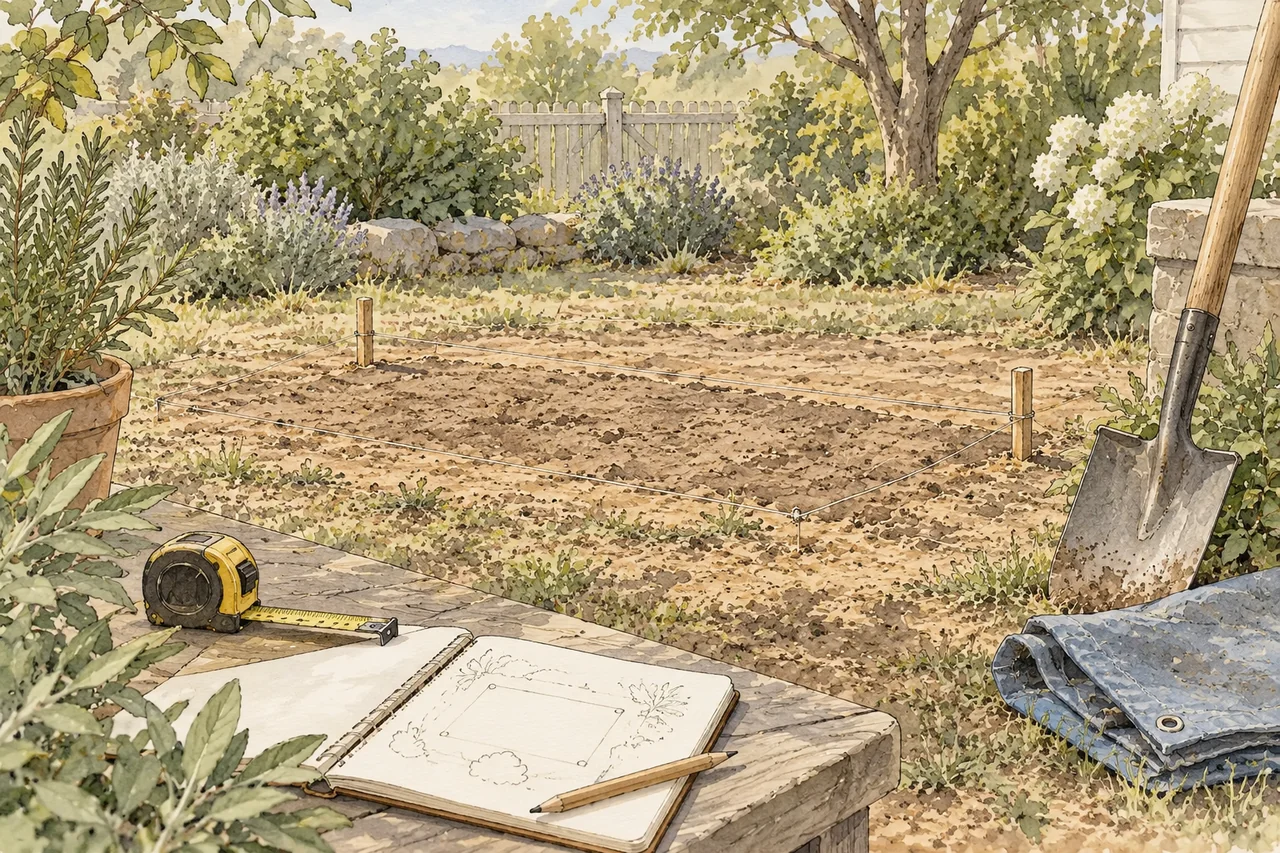
Start with the finished job
A good dig starts with a picture of what you want to leave behind. A garden bed, a fence post and a drainage trench may all begin with a shovel, but they need different shapes, depths and decisions. Write down the purpose before you mark the ground.
For a small garden project, that might be: “Remove this patch of lawn for a bed, keep the surrounding path usable, and save the topsoil.” For a fence, it means having the fence layout and post requirements settled first. A drainage job also needs a suitable outlet. Digging a channel without knowing where its water will go can create a new problem farther downhill.
Walk around the proposed work from several directions. Notice doors, gates, paving, trees, steps and the routes people actually use. The Royal Horticultural Society's border guide suggests marking a shape before committing to it. That simple rehearsal is useful well beyond flower beds.
Find out what is underground
Make the service check before pushing in a shovel, pick, auger or layout stake. Hand tools can damage buried cables and pipes too.
In Australia, start with Before You Dig Australia. Its plans are indicative and may omit services within the property. In the US, contact 811, follow your state's waiting period, and confirm that every notified utility has responded. Elsewhere, use the local utility-location process.
Look for meters, inspection covers, irrigation controls and evidence of previous work. These are clues, not proof of a safe digging route. Private irrigation, lighting, septic connections and other owner-installed services may need separate locating. Follow the asset owner's instructions and local requirements for exposing or working near a service. A painted mark is not permission to drive a tool into the ground beside it.
Keep the responses and site notes available while you work. If the dig changes location or expands, check whether the original information still covers it.
Read the site before choosing a tool
After the service checks, examine the ground you can safely access. Is it loose garden soil, dense clay, gravelly fill, or a mixture? Is it dry enough to crumble, sticky enough to smear, or wet enough for water to collect? The answer affects both the work and the condition you leave behind.
For cultivating a bed, avoid working saturated soil. University of Maryland Extension identifies wet-soil traffic and cultivation as causes of compaction. Oregon State's gardening guide also warns that working wet clay can produce hard clods. Waiting for better conditions can be more useful than buying a bigger tool.
Protect trees as part of the plan. Digging through major roots, piling soil over them or changing the ground level can injure or destabilize a tree. If your project crosses an established tree's root area, get an arborist's advice before cutting. A cutter mattock does not make every root fair game.
Stop and reassess if you encounter unexpected water, unidentified services, suspect buried waste, unstable ground or a structure whose support could be affected. These are changes to the job, not ordinary resistance to muscle through.
Give the dirt somewhere to go
Excavated material is often called spoil. Decide its destination while the site is still easy to move around. Make separate places for reusable topsoil, subsoil and unwanted material. Keep those places clear of utility markings, drains, tree root protection areas and walking routes.
A tarp can help keep a small pile off paving and make cleanup easier. It does not make a large load easy to lift. Position it where the dirt can be shoveled or wheeled onward without another long transfer.
Estimate the size of the excavation. A rectangular patch 6 feet long, 3 feet wide and 6 inches deep contains 9 cubic feet of material before digging: 6 × 3 × 0.5. That is a planning example, not a recommended digging depth. Loosened soil occupies a different volume, and its weight varies with soil type and moisture. Leave room rather than filling your storage area to an optimistic estimate.
Keep spoil and equipment back from excavation edges. The needed separation depends on the excavation and local rules. Neither a small pile nor a shallow-looking hole is automatically harmless. OSHA's excavation guidance explains why edge loading, water and access belong in the safety assessment.
Plan the route, then the rhythm
Choose a firm, clear route from the dig to the soil pile. Check gate widths, tight turns and slopes before loading a wheelbarrow. Moving the pile a little closer may save more effort than improving your shovel technique.
Set out the tools for the actual sequence: a cutting or loosening tool, a tool for removing loose soil, and a way to move it. Inspect handles, joints and blades. Wear suitable boots and gloves, with eye protection where chips or flying material are possible. Keep other people out of a swinging tool's working area.
Plan breaks, drinking water and a way to leave the site secure if you stop midway. Heat, awkward access and repeated handling can turn a modest task into a demanding one. For work that needs excavation entry, structural assessment or machinery you cannot operate competently, arrange the right help before starting.
A useful lesson from an old book
In Manual of Gardening (1910), L. H. Bailey treated shaping the ground and providing drainage as part of making a garden, rather than finishing touches after planting. The useful modern lesson is to think about the whole site before working on one patch. His historical drainage specifications are not a substitute for today's site design or excavation rules.
F. F. Rockwell's Home Vegetable Gardening likewise organized work into preparation, cultivation and finishing. A century later, that sequence still offers a sensible question: what must be ready before the next task can begin?
Your before-digging checklist
- The purpose, location and finished shape are clear.
- Service information and any required locating are complete.
- Boundaries, trees, drainage and nearby structures have been considered.
- Topsoil, other spoil and unwanted material each have a destination.
- The work area and hauling route are clear.
- Tools, protective equipment, water and breaks are ready.
- You know what would make you stop and seek help.
- The unfinished site can be kept secure.
Once those decisions are made, you can concentrate on the satisfying part: making a small, deliberate change to the ground.
Sources and further reading
- L. H. Bailey, Manual of Gardening (1910)
Historical context for shaping ground and planning drainage before planting.
- F. F. Rockwell, Home Vegetable Gardening (1911)
Historical preparation sequence: layout, tools and soil preparation.
- Before You Dig Australia, For Homeowners
Indicative plans, private services and the homeowner service-location process.
- Common Ground Alliance, Before You Dig
US notification, state-specific waiting periods and utility responses.
- OSHA, Trenching and Excavation Safety
Excavation edges, spoil, water, access and collapse hazards.
- Safe Work Australia, Excavation Work Code of Practice
Excavation risk planning and the need to check the applicable local rules.
- HSE, Construction Manual Handling
Reducing handling through layout, equipment and work organization.
- University of Maryland Extension, Problems Caused by Compacted Soil
Wet-soil traffic and cultivation as sources of compaction.
- Royal Horticultural Society, How to Create a Garden Border
Marking a proposed garden shape before committing to excavation.
- Oregon State University Extension, An Educator's Guide to Vegetable Gardening
Soil readiness and the role of different garden tools.
- University of California IPM, Protecting Trees During Construction
Root injury, changes of grade and compaction around established trees.
- USDA Forest Service, Trail Maintenance and Construction Notebook (2025)
Water movement, drainage and organizing practical ground work.