
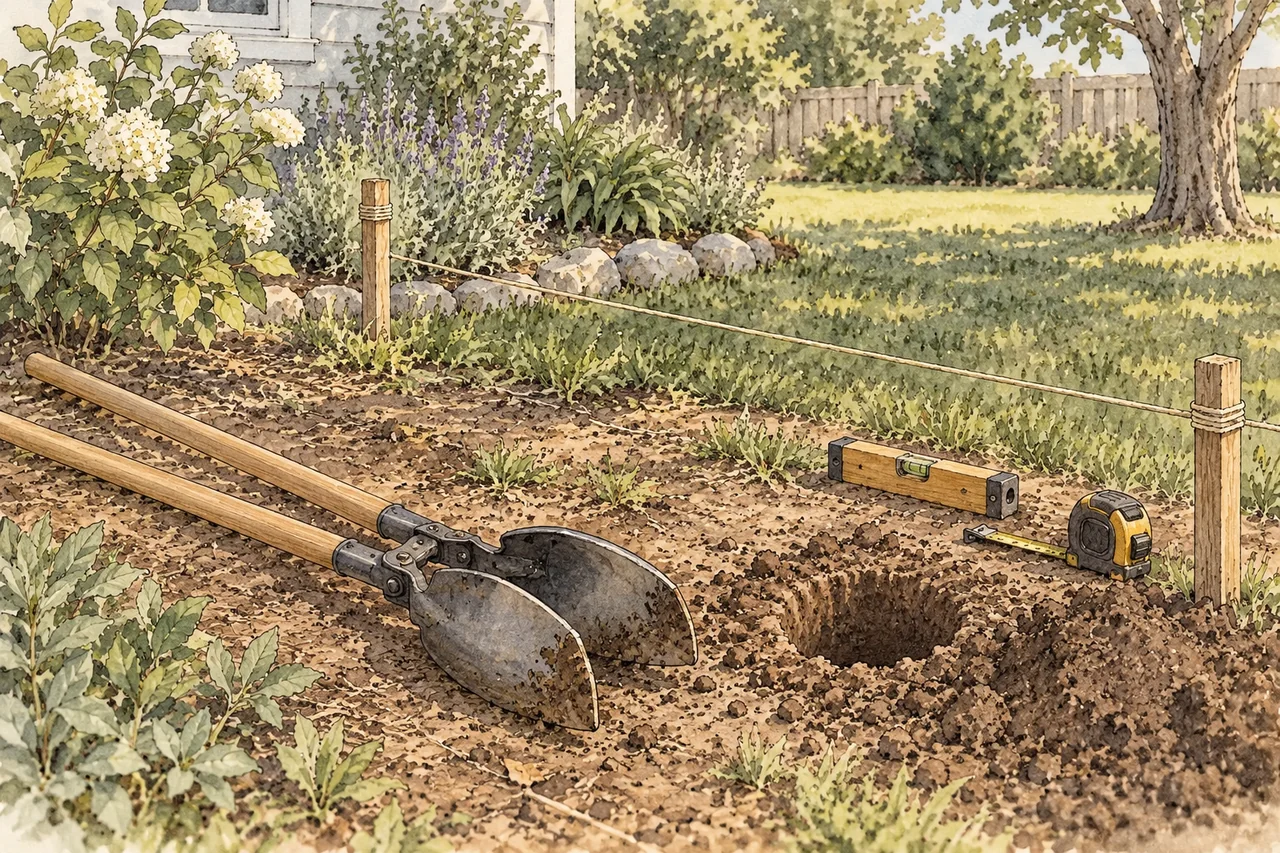
The right hole starts with the post
A good post hole is in the correct place, has the required dimensions, and gives the installation the support it was designed to have. A tidy round hole is only part of that job.
Before digging, settle the post material, fence type, height, spacing and footing or backfill method. Check property boundaries and applicable local requirements. Gate, corner and end posts can carry different loads from ordinary line posts, so copying one hole throughout the project can be a mistake.
Do the buried-service check before driving layout stakes or opening a hole. Use BYDA in Australia or 811 in the US, and resolve private-service questions separately where necessary. A fence line is not proof of an empty strip of ground.
Why there is no universal depth
Hole dimensions depend on the fence system, post, loads, ground and local conditions. Frost requirements matter where freezing ground can affect the footing. Loose fill, soft soil, exposed sites and gates may require different details or professional design.
Manufacturer instructions show why a rule of thumb should stay attached to its context. QUIKRETE's general post-setting guide gives a width of three times the post width and an embedment related to the exposed height, with additional depth for its gravel layer. Sakrete's Rapid Post guide describes a different clearance around the post and addresses the frost line. Those are instructions for particular methods, not interchangeable fence specifications.
University of Georgia's Fences for the Farm distinguishes line posts from braced corner and end assemblies. Its agricultural examples also show that posts may be driven rather than set in excavated holes. A garden fence, a livestock fence and a structural support do not share one generic hole design.
Get the required dimensions from the applicable fence-system instructions, local requirements and any site-specific design. Include a specified base layer in the total excavation depth, rather than accidentally subtracting it from the post's required embedment.
Lay out the whole run first
Set a reference line outside the holes where it will remain undisturbed. Measure the required centers along it and mark each location clearly. Check corners and gate openings against the actual fence components before beginning.
Be precise about what the line represents. It may align the post faces rather than their centers. Account for post width consistently, especially if different posts are used at gates or ends.
For a rectangular layout, comparing the two diagonals can help reveal a skewed shape. Equal diagonals alone do not prove that every side is correctly placed, so also verify lengths, corners and the intended boundaries.
Keep a written layout or photograph before the marks get disturbed. A reference that survives the first hole is much more useful than measuring again from a fresh pile of spoil.
Choose tools that can work in the hole
A clamshell post-hole digger has two scoops. With the scoops open, take a small bite into suitable ground; move the handles to close the scoops around loosened soil, then lift it out. Follow the particular tool's operation, because linkage designs differ.
A narrow shovel can start a hole or collect loose material. A suitable digging bar can loosen verified compacted material or a small obstruction. If you need to lever a rock, use a bar intended for prying rather than assuming a digging-and-tamping bar is suitable.
A manual auger is another option in suitable ground. Rock, roots, moisture and hole depth affect whether it works well. The tool must also allow you to remove the cuttings, not merely bore deeper.
Powered augers introduce torque, moving parts and entanglement hazards. They need the manufacturer's training, guards and operating procedures. Keep people clear, and stop and isolate the equipment before clearing material or approaching moving parts. A NIOSH investigation of a tractor-powered post-hole auger fatality makes those hazards concrete. Renting power does not remove the need to understand the machine.
Work down in small stages
- Open the marked area carefully. Remove surface vegetation as appropriate and keep useful topsoil separate.
- Loosen, then collect. Use controlled bites rather than forcing a full scoop into hard ground.
- Check position. Measure from the surviving reference line before a small error becomes a deep one.
- Measure depth regularly. Use a tape or a dedicated marked measuring stick. Avoid judging depth by how far the handles disappear.
- Watch the sides. Do not undercut them or assume loose ground will keep the shape you first made.
- Leave the bottom as specified. Remove loose spoil and prepare any required base according to the installation instructions.
Clamshell handles often need more room to open as a hole gets deeper. If the tool jams, check whether the diameter and tool design suit the required hole. Do not dig an oversized crater simply to make an unsuitable tool fit.
Work from stable ground at the surface. Keep feet away from the opening and protect it from children, pets and passersby. Do not enter a post hole or improvise an excavation that needs a person's body inside it.
Roots, rocks and water change the plan
If you find a root, identify whether it belongs to a tree that needs protecting before cutting. If a stone cannot be removed within the planned excavation, reassess the method and footing. Moving a hole can alter panel spacing, gate geometry and service clearances, so it needs a layout check too.
Stop for unexpected water, collapsing sides, unidentified pipes or suspect waste. Loose or saturated ground may need a different installation detail and competent assessment. Do not keep enlarging the hole while hoping the conditions will improve.
Check alignment before the hole disappears
Before backfilling or placing concrete, confirm depth, diameter, line and post position. Check a post for plumb in two directions and support it as the chosen installation requires. Follow that system's mixing, placing, compaction and curing instructions.
Do not combine a dry-pour recipe from one bag with the water quantity or timing from another. For soil backfill, follow the specified placement and compaction method rather than dumping the whole pile around the post at once.
Old books, familiar problems
George A. Martin's Fences, Gates and Bridges (1887) described both setting posts and driving them in suitable ground. Shearer's Farm Mechanics (1918) pictured separate tools for loosening stones and clearing post holes. Their details belong to another era, but they remind us that the best method has always depended on the ground and the job.
Good layout, suitable tools and repeated checks are less dramatic than digging fast. They are also what let the finished posts form a fence rather than a collection of individually impressive holes.
Sources and further reading
- George A. Martin, Fences, Gates and Bridges (1887)
Historical fence layout and driven versus excavated post installation.
- Herbert A. Shearer, Farm Mechanics (1918)
Historical post-hole diggers and separate tools for stones.
- University of Georgia Extension, Fences for the Farm
Line posts, gate posts and braced corner or end assemblies.
- QUIKRETE, Setting Posts in Concrete
One manufacturer-specific post-setting method, dimensions and alignment checks.
- Sakrete, How to Anchor Posts and Poles
A different product-specific clearance and frost-line guidance.
- Seymour Midwest, Post Hole Diggers and Augers
Manual digger and auger designs with different operating needs.
- Before You Dig Australia, For Homeowners
Australian service-location checks, including limitations of supplied plans.
- Common Ground Alliance, Before You Dig
US utility notification and response checks before digging.
- NIOSH FACE, Farmer Fatally Injured in Tractor Posthole Auger Entanglement
A powered-auger entanglement investigation and isolation precautions.
- CCOHS, Landscaping: Shovelling and Digging
Service checks, tool condition, footing and excavation hazards.
- USDA Forest Service, Handtools for Trail Work (2005, updated 2012)
Digging-and-tamping bars and appropriate hand-tool use in confined work.
- University of California IPM, Protecting Trees During Construction
Root protection and reassessing excavation near established trees.